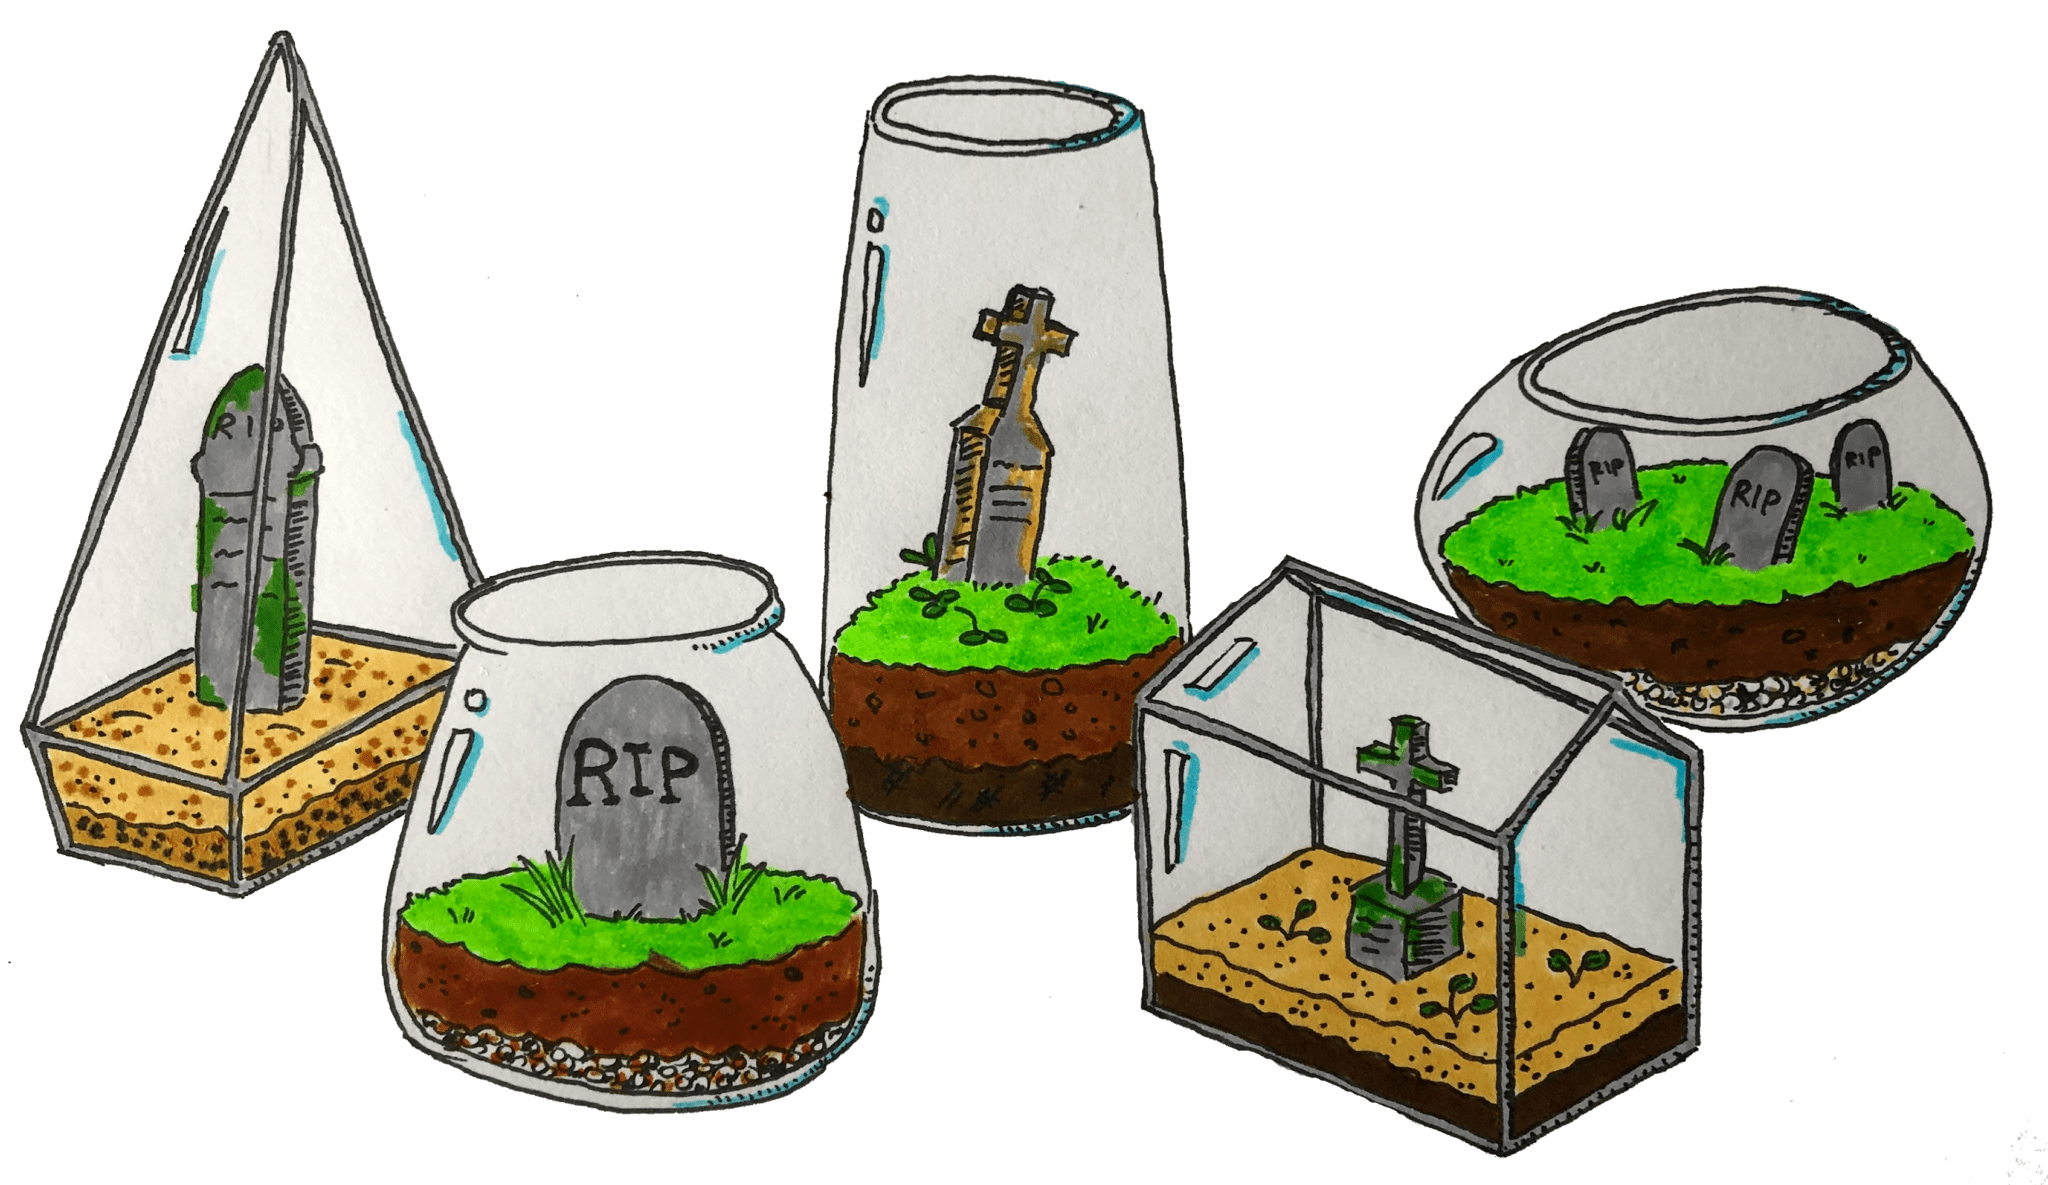
So, you’ve moved out of home and are feeling lonely, but you’re still 5-10 years away from getting a dog or a child. This is what demographers call the ‘houseplant bracket,’ and right now you are a prime sucker for that oh-so-tempting modern trinket: the terrarium. From total newbies to the greenest thumbs, I believe that everyone can buy, build and kill a terrarium with confidence!
1. Set up your jar
The first step is picking a suitable container. You want something that goes with the furniture, bonus points if it can sustain life. Specialty stores draw you in with sparkling, expensive glass — though you can find something similar for $10 at the Reject Shop. Are these different? Wouldn’t you like to know.
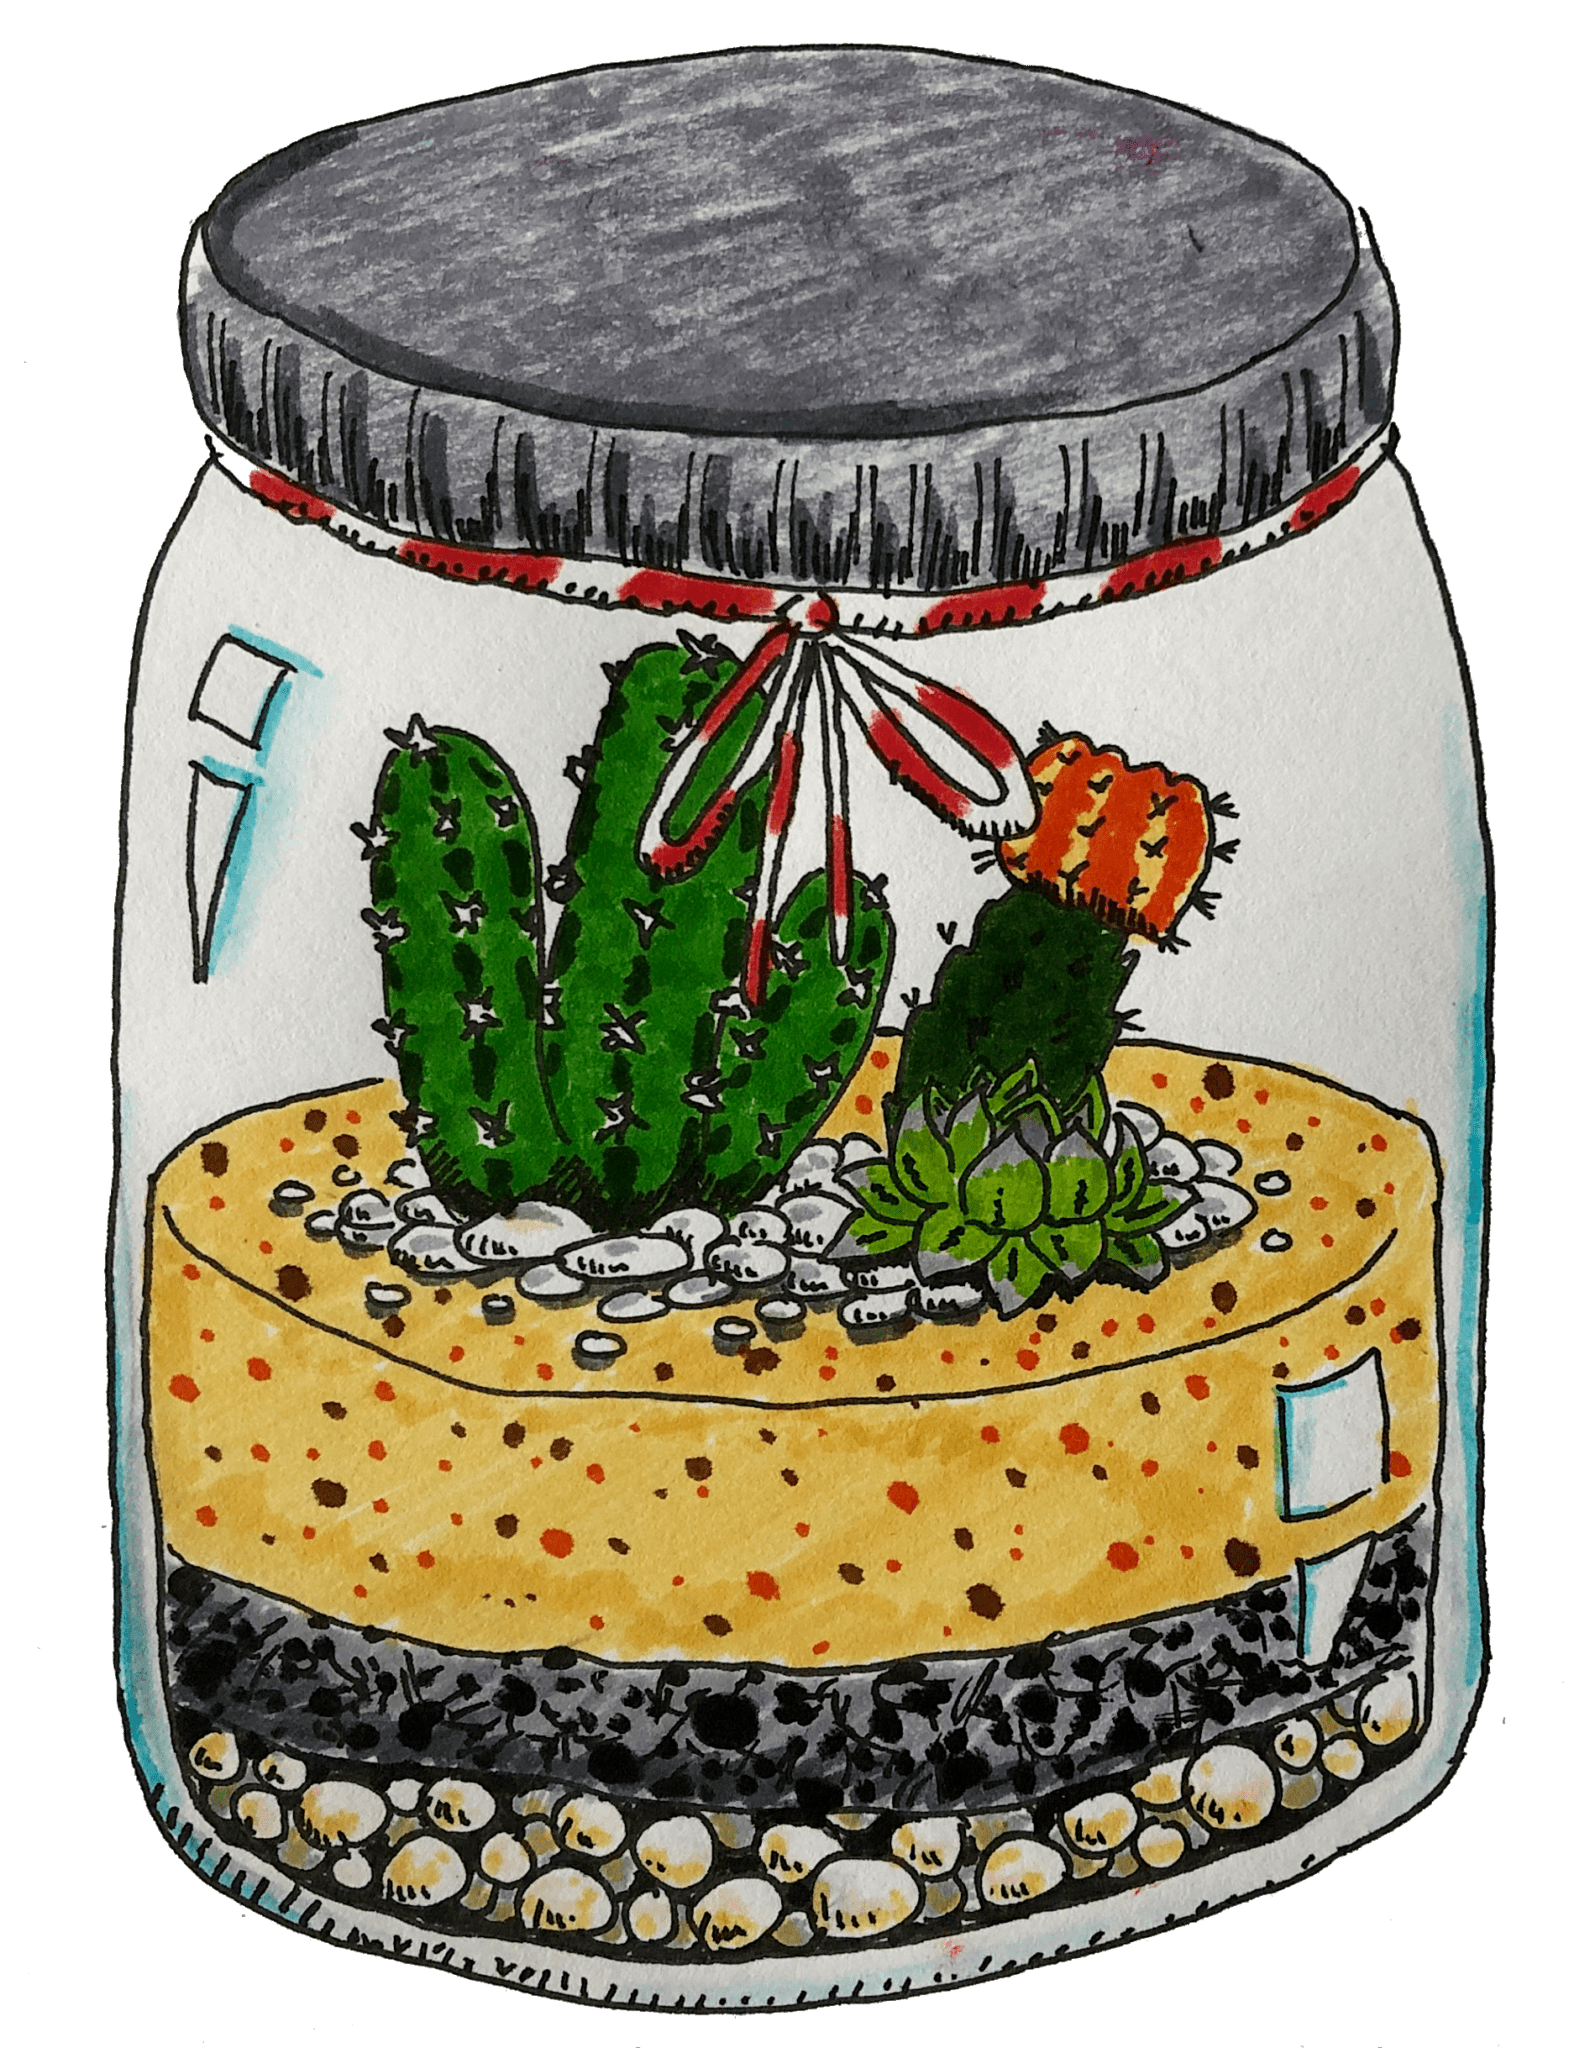
Container in hand, you can start filling it with dirt — sorry, substrate. The terrariums you see in the shop have lots of substrate layers, which probably helps with drainage or something like that. I usually opt for a base layer of gravel, then activated charcoal, before capping with organic potting soil. If you can’t get these, don’t worry! Your neglect will kill the plants just as fast with any other combination.
2. Buy your plants
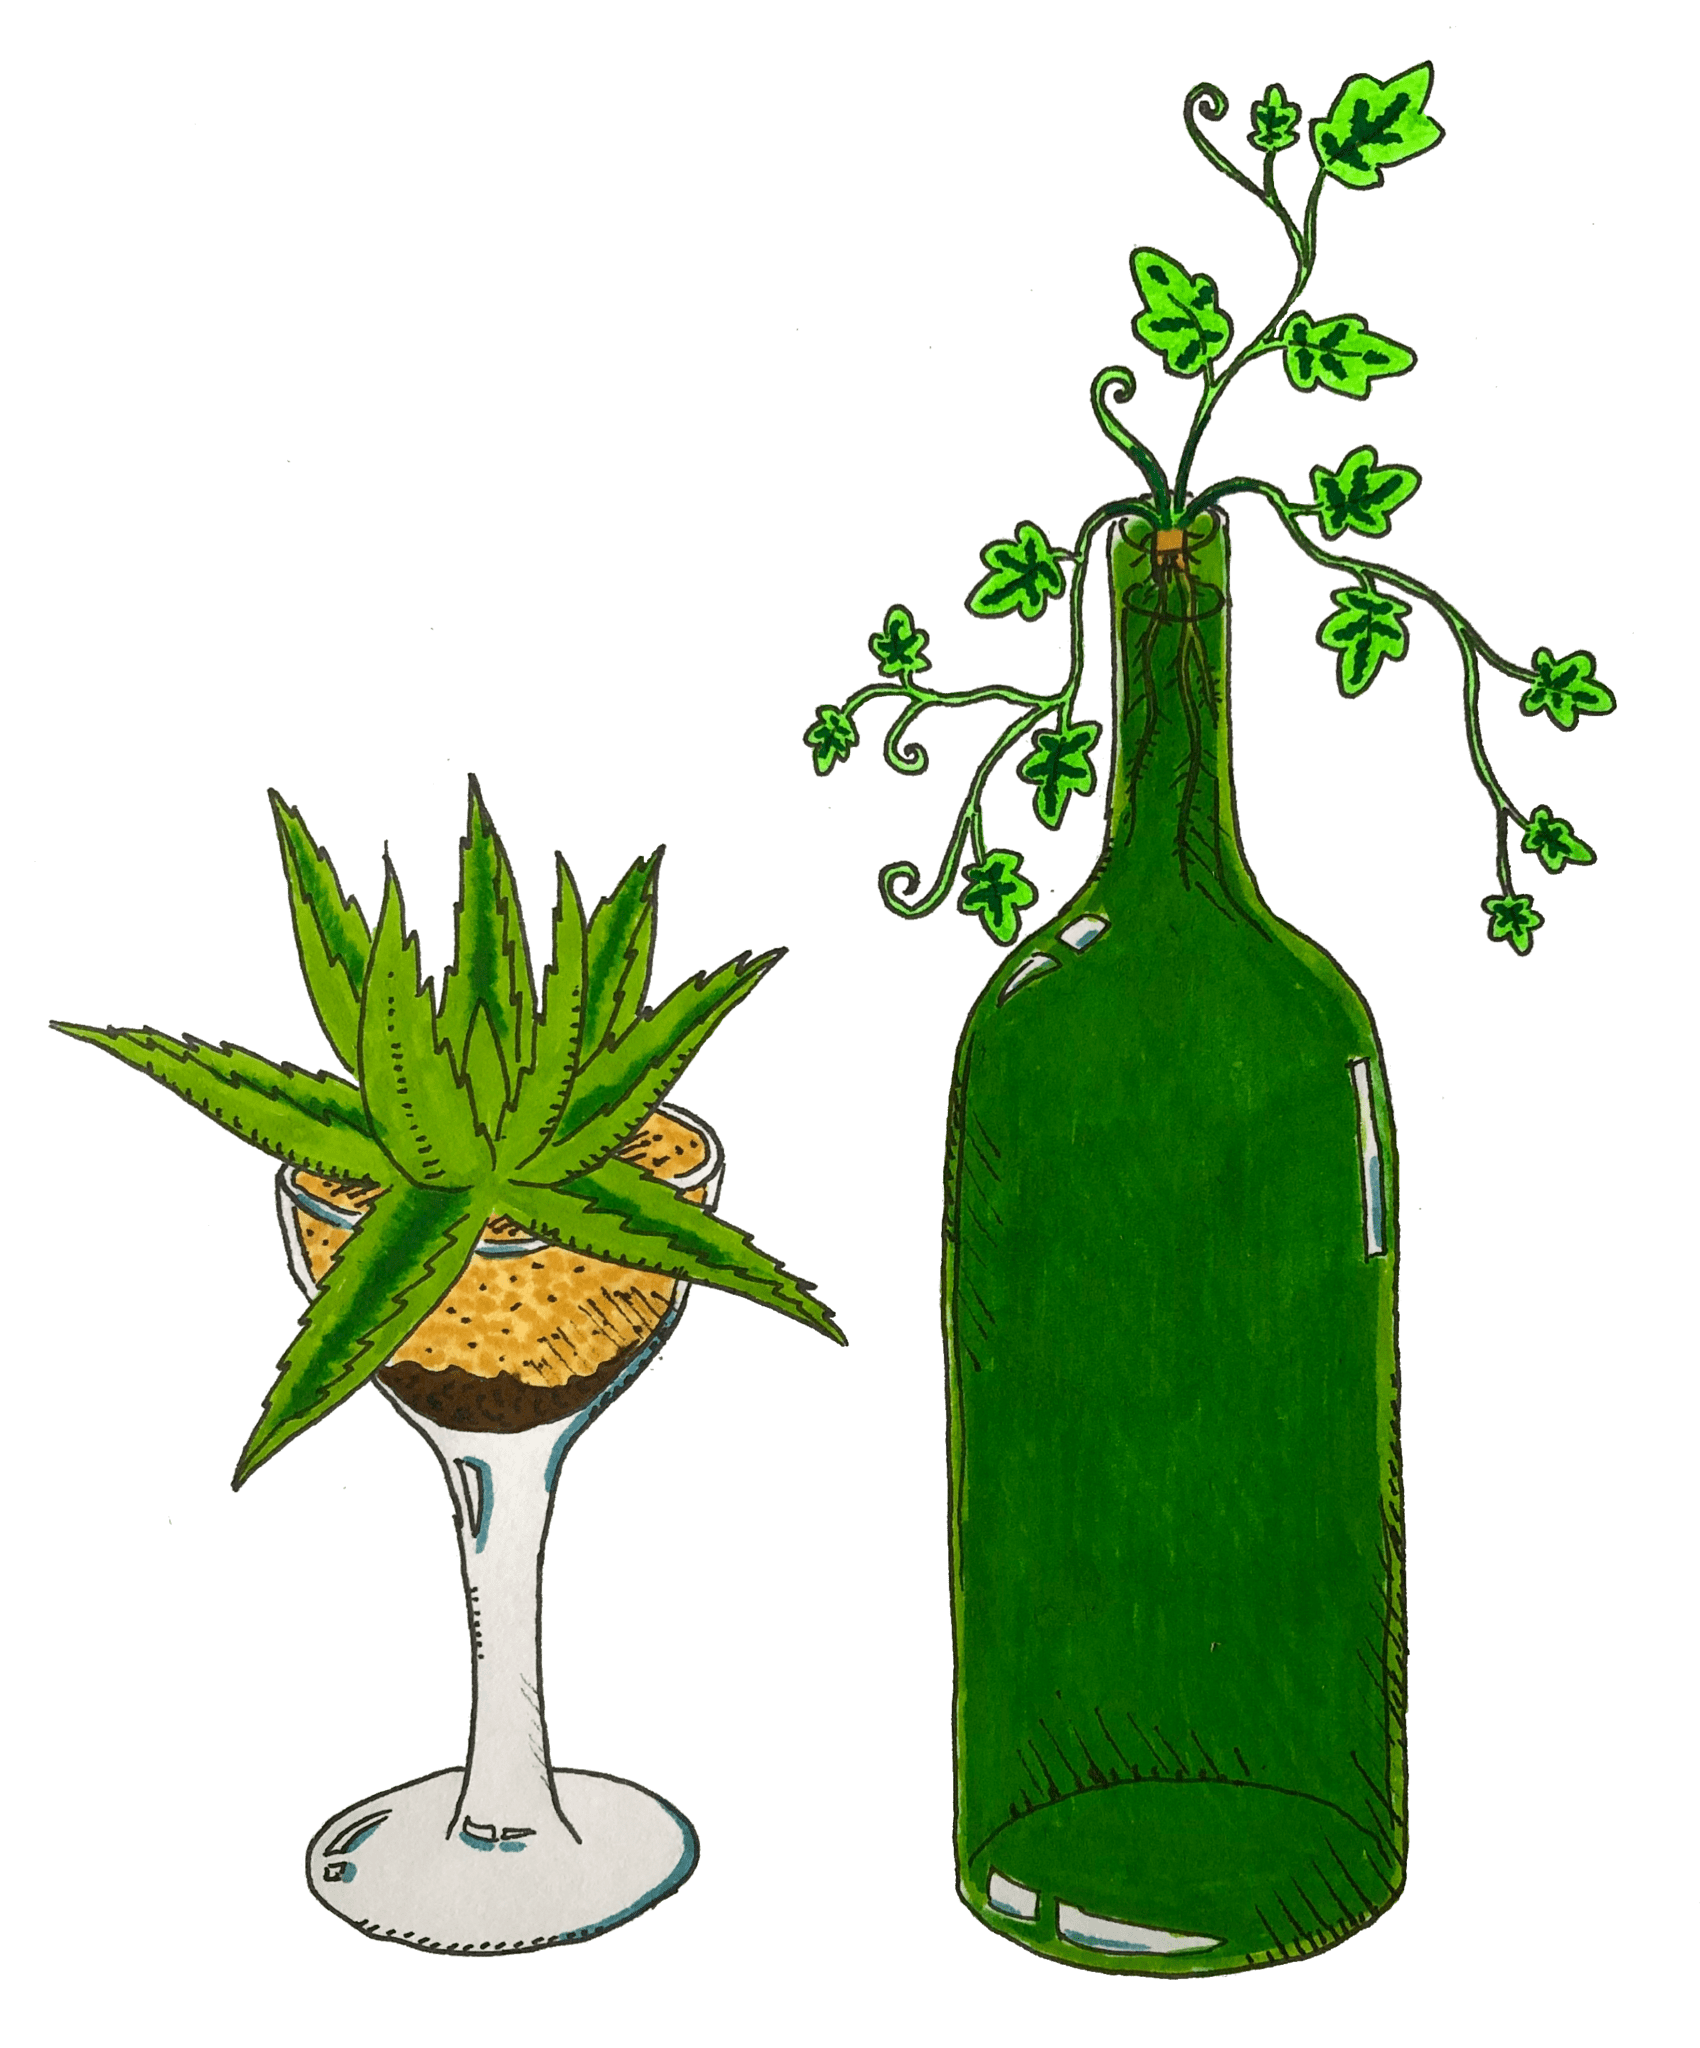
You could, gauche as you are, buy any old plant and stick it in. Or, you could buy the specialised terrarium-friendly seedlings. These are the smaller pots at the front of any nursery, with more delicate and colourful specimens. While they may look like regular plants, there is one major difference: they’re more expensive.
Choosing plants can be a confusing and complex process. My advice? Don’t overthink it. Technically, species like mosses and succulents come from complete opposite environments and don’t overlap at all in their light, water or fertiliser requirements. But this ignores the fact that you’ve got a biosphere, which is actually more … biological? And don’t even worry, the sill of your south-facing bedroom window is totally full sun. We live in a “she’ll be right” nation, extend the same courtesy to your leafy friends.
3. Design the terrarium
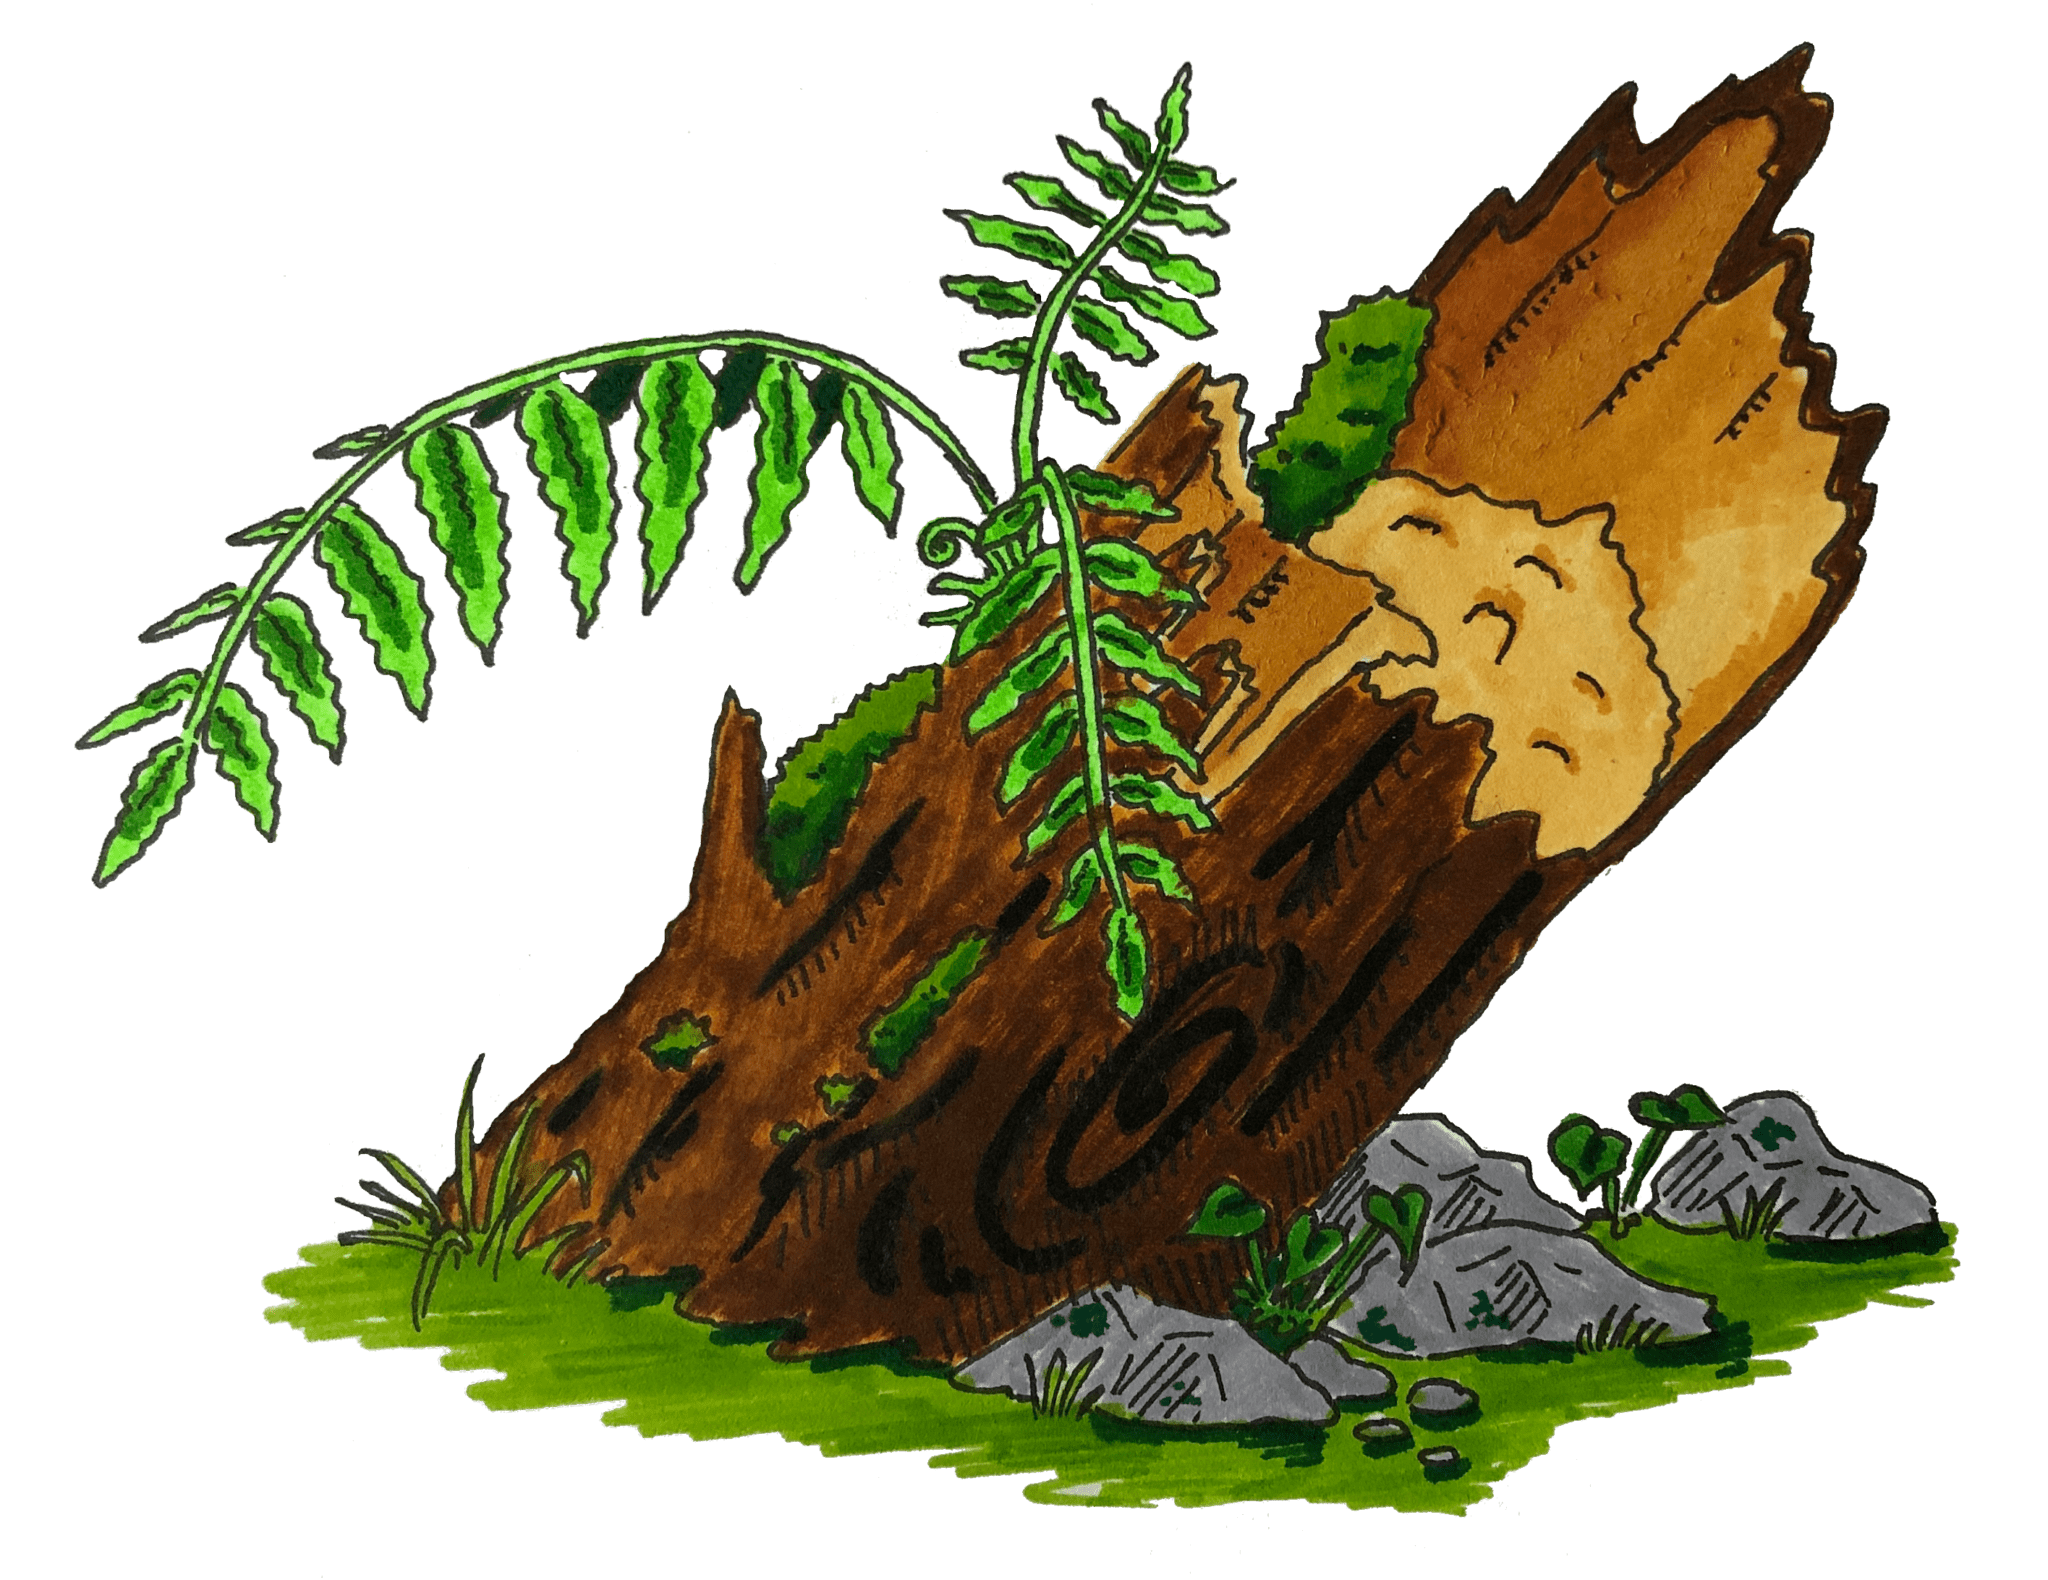
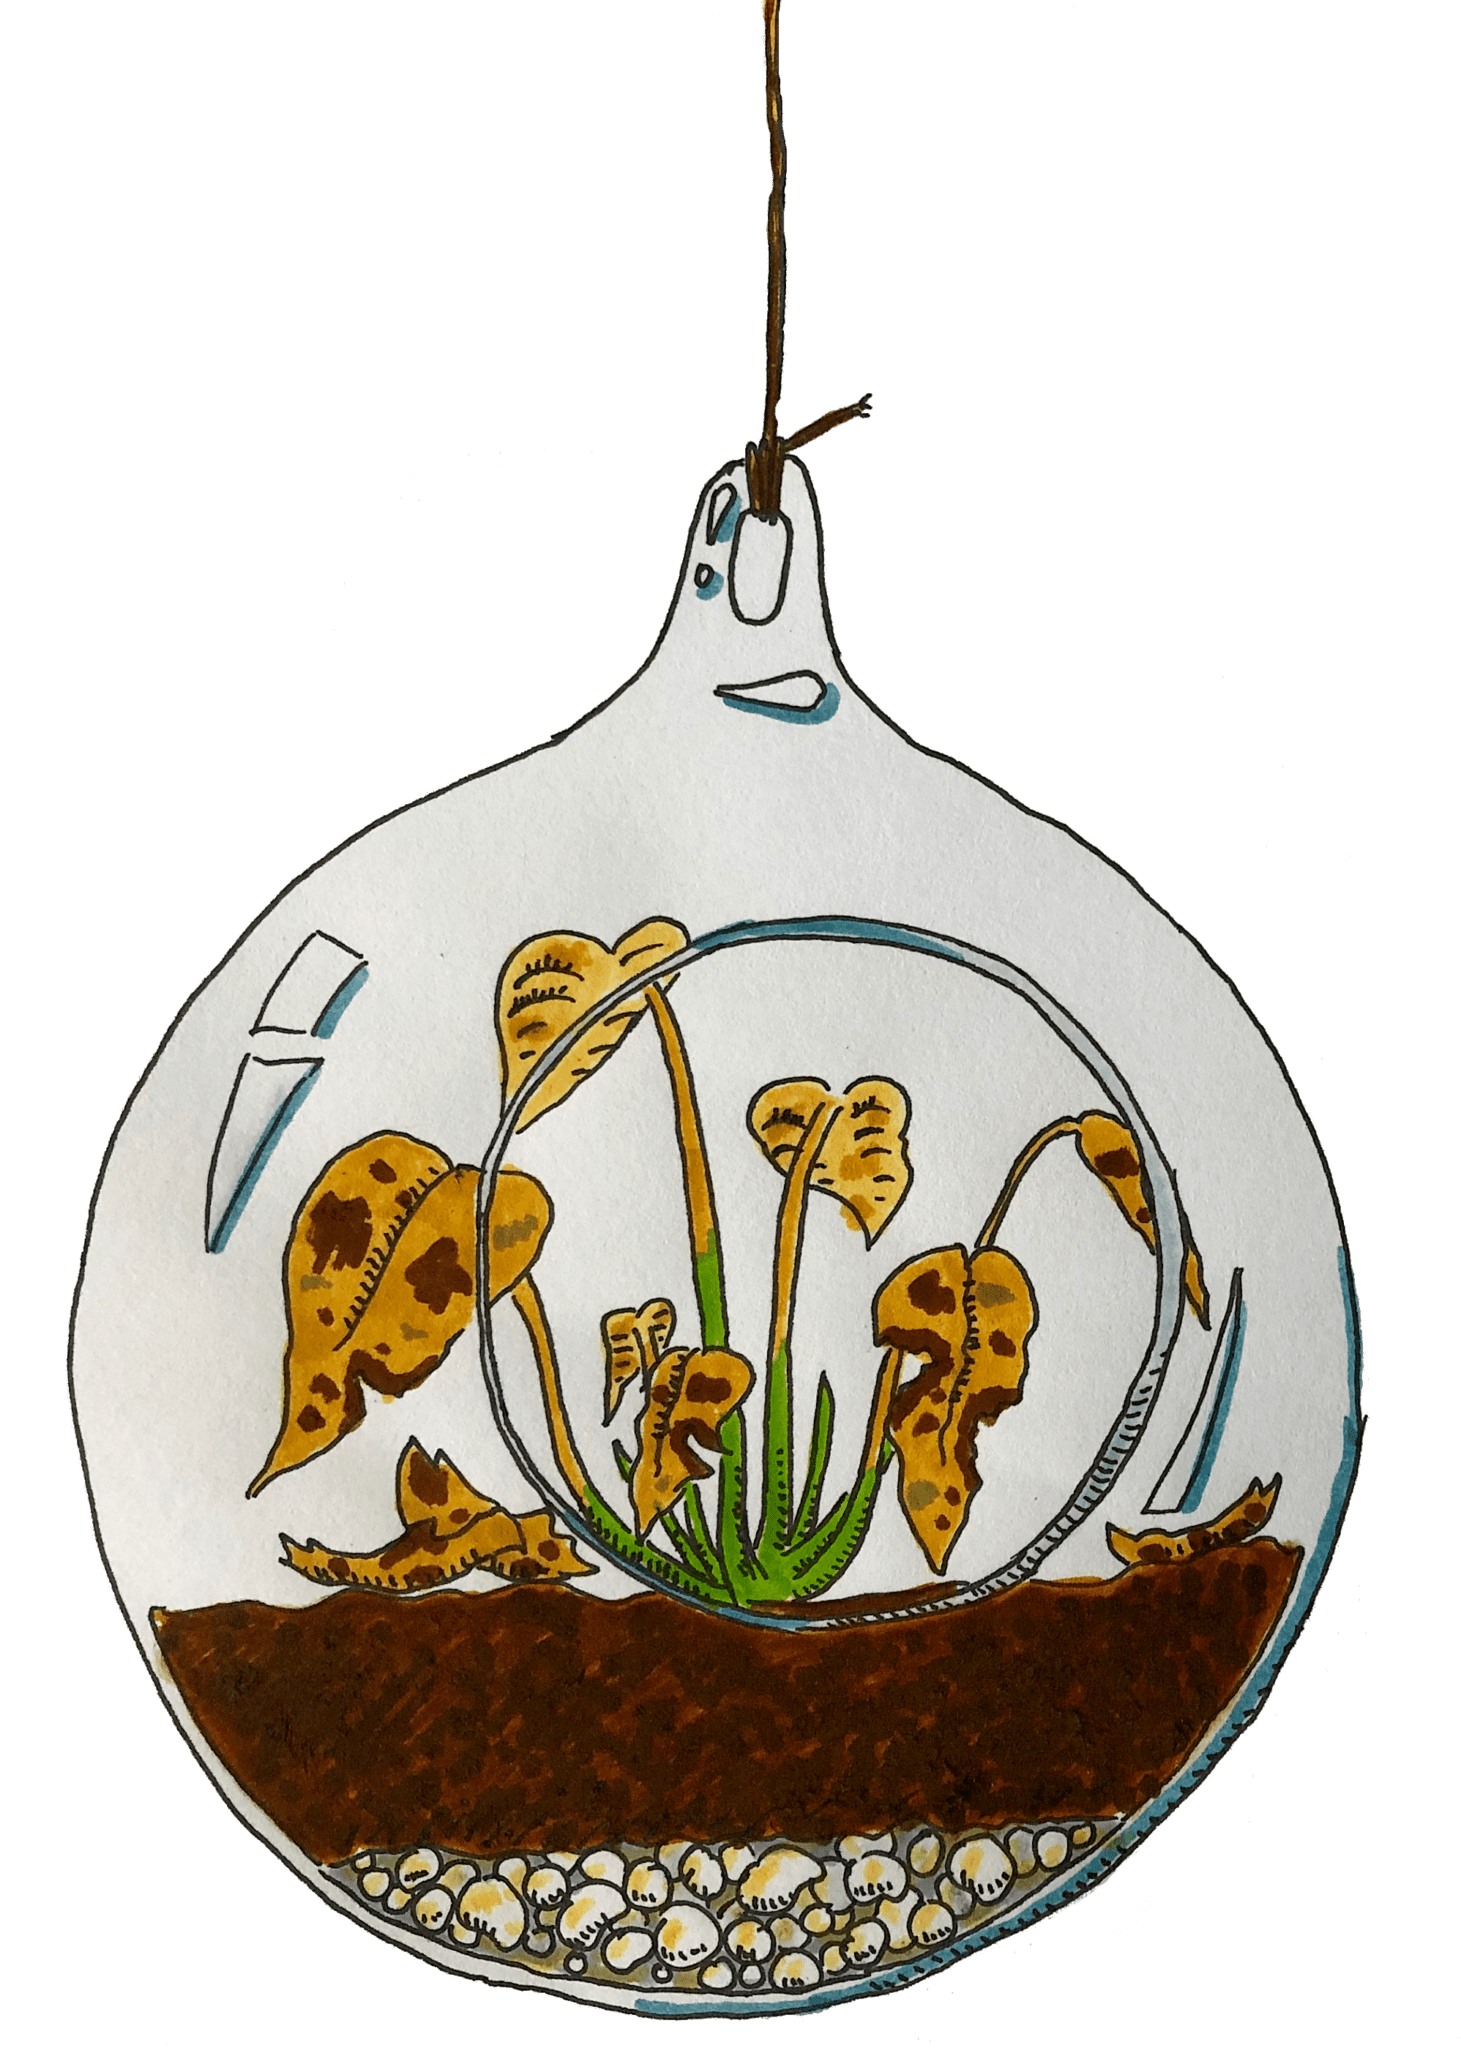
When planting, it’s important to think about how the setup will look in three months, not how it looks today. As the plants ‘grow,’ your terrarium will change drastically, so be sure to reflect on and question your initial design choices. For example, will a silvery, wilted fern frond clash against the richer brown of a dying peperomia? Will any desiccated stems reveal dirt speckled with unsightly mould?
It takes a while to get your artistic eye in, but you’ll get there. After all, the master has failed more times than the beginner has even tried.
4. Add the accoutrements
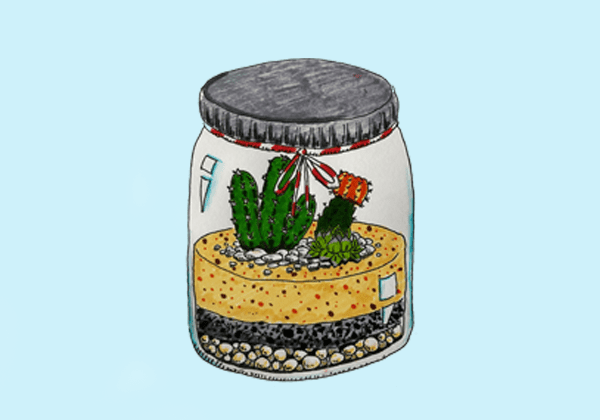
This is where the design comes together. No terrarium is complete without that final drop of individual flair, just like everyone else’s. Colourful gravel, a miniature figurine — these are both fine, if a little played out. Experienced players favour a loop of red and white twine, laid around the container’s mouth. That said, you shouldn’t limit yourself, so blue or green twine are also acceptable.
Congratulations! You have just transformed your plant in a jar (street value $15) into a bona fide, one of a kind, terrarium (street value $200). Plus, that twine adds an extra splash of colour and brings the whole design to life. In a few months, it’ll be the only splash of colour.
5. Maintain your setup
Once the terrarium is built, the journey is pretty much over. But there’s still the final, crucial ritual of maintenance, which plays out roughly as follows. Once every three weeks, you’ll remember that the terrarium still exists. After frantically rotating it or moving it to a different spot on the windowsill, you must now drown your plans in water, haphazardly poured from your tea-ringed mug.
And there you go! Congratulations on your first terrarium, fingers crossed it’ll decay smoothly! Of course, you could also give it to someone as a present, and let them take the fall for a project doomed from the start.
